Lesson 13: Create a header for a web site – a step-by-step Photoshop CC lesson
$3.99
Lesson 13: Create a header for a web site – a step-by-step Photoshop CC lesson
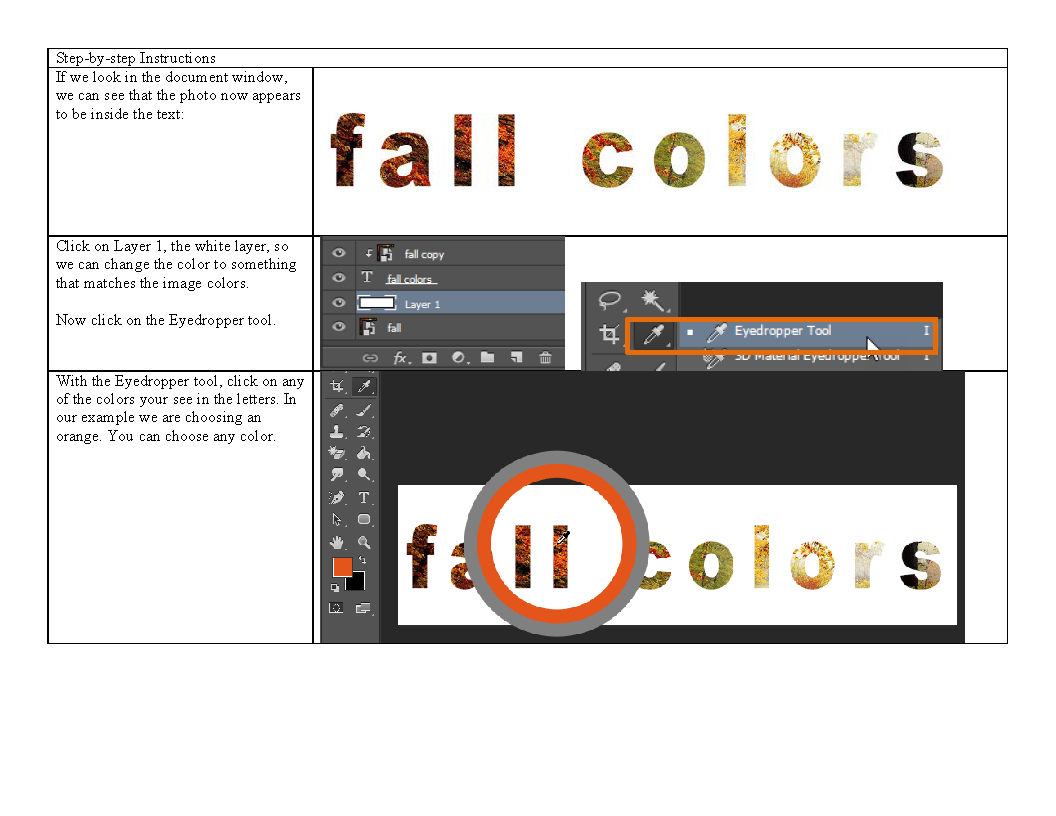
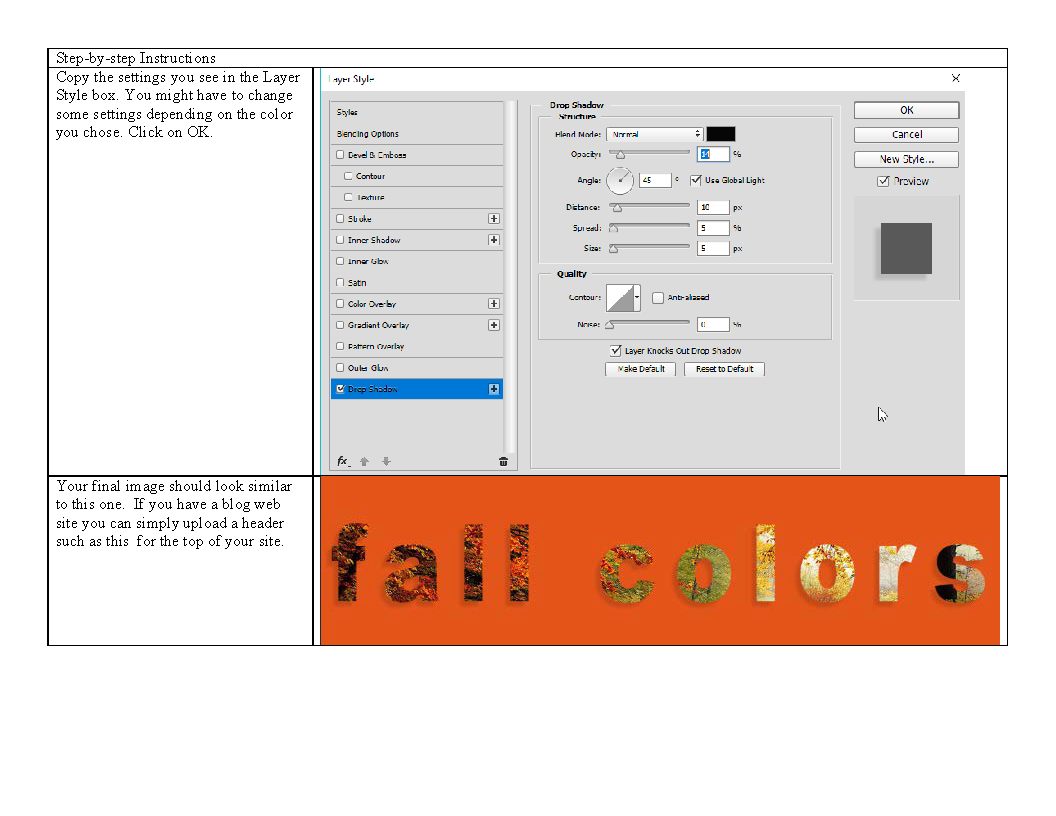
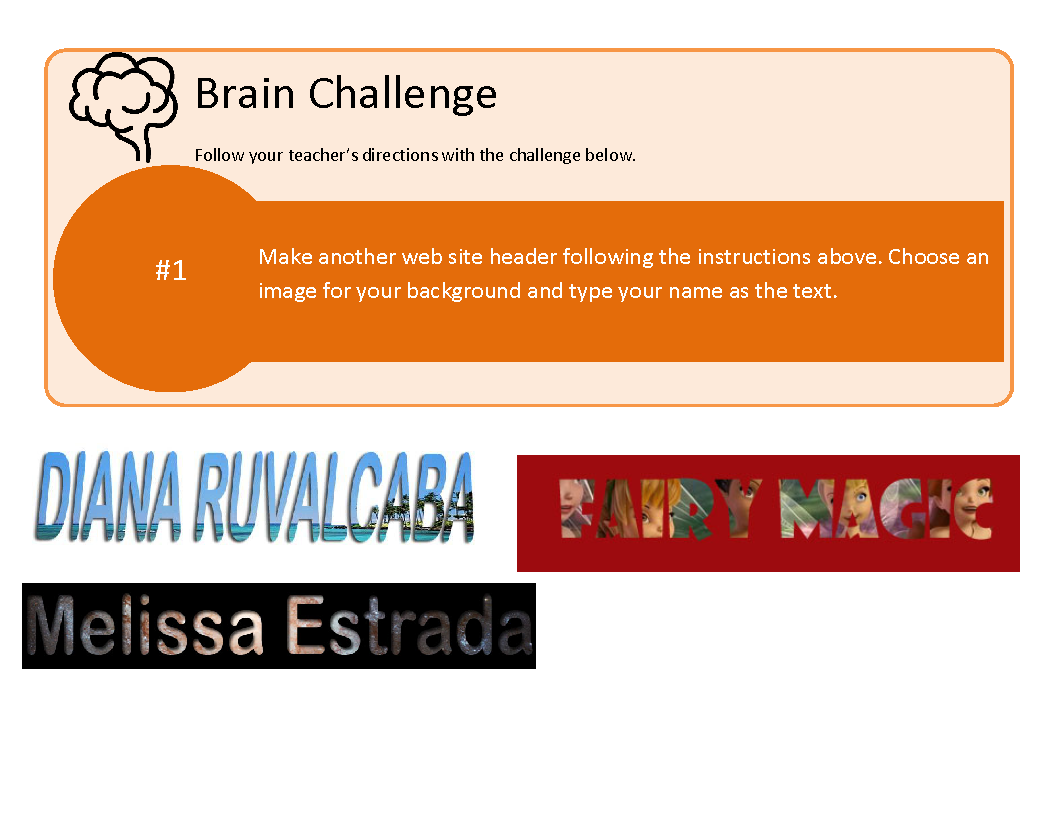
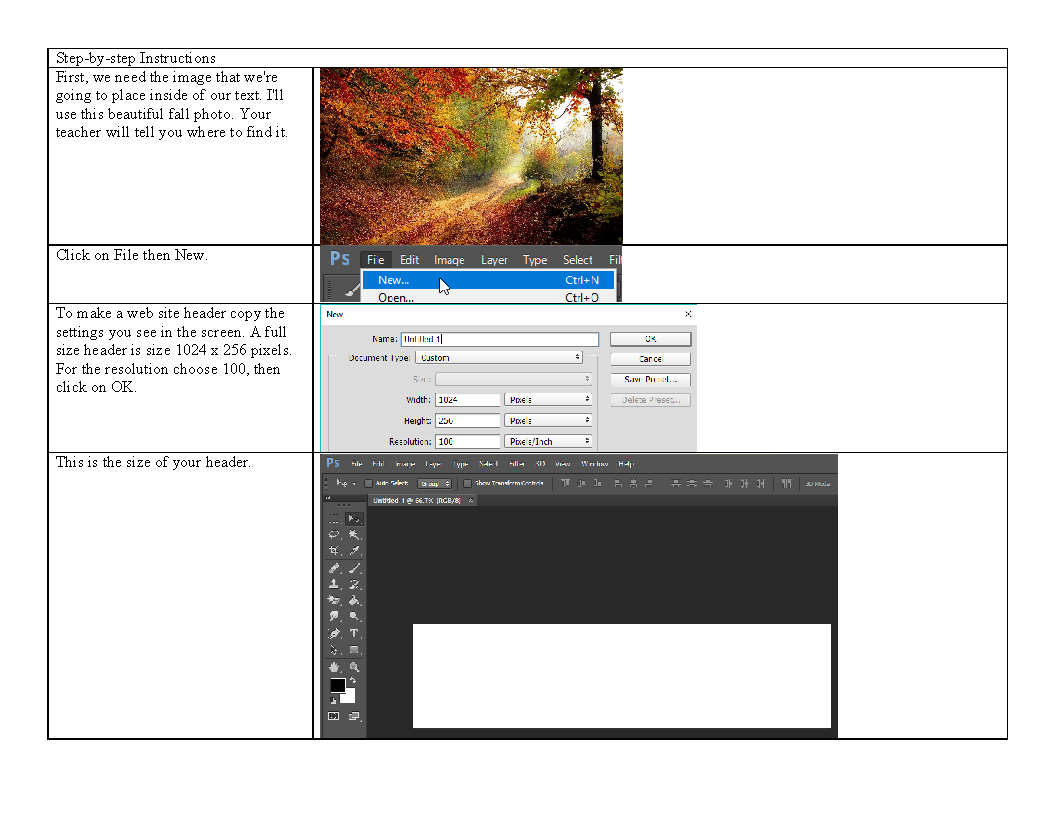
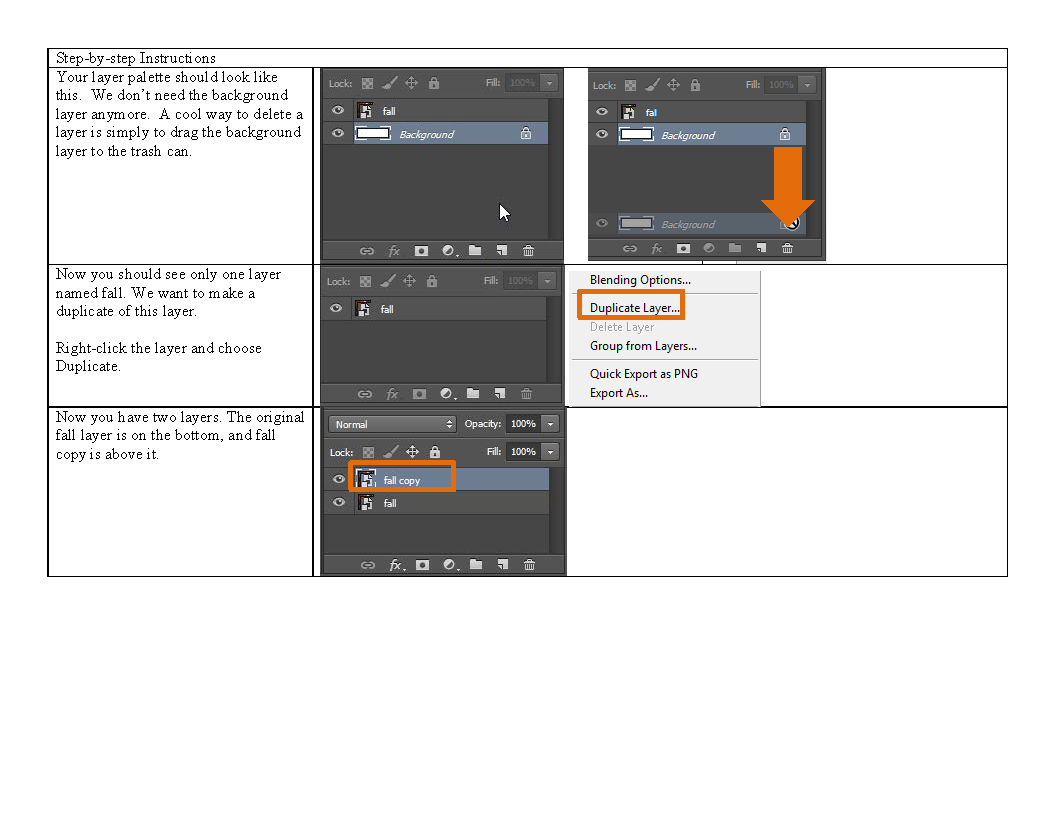
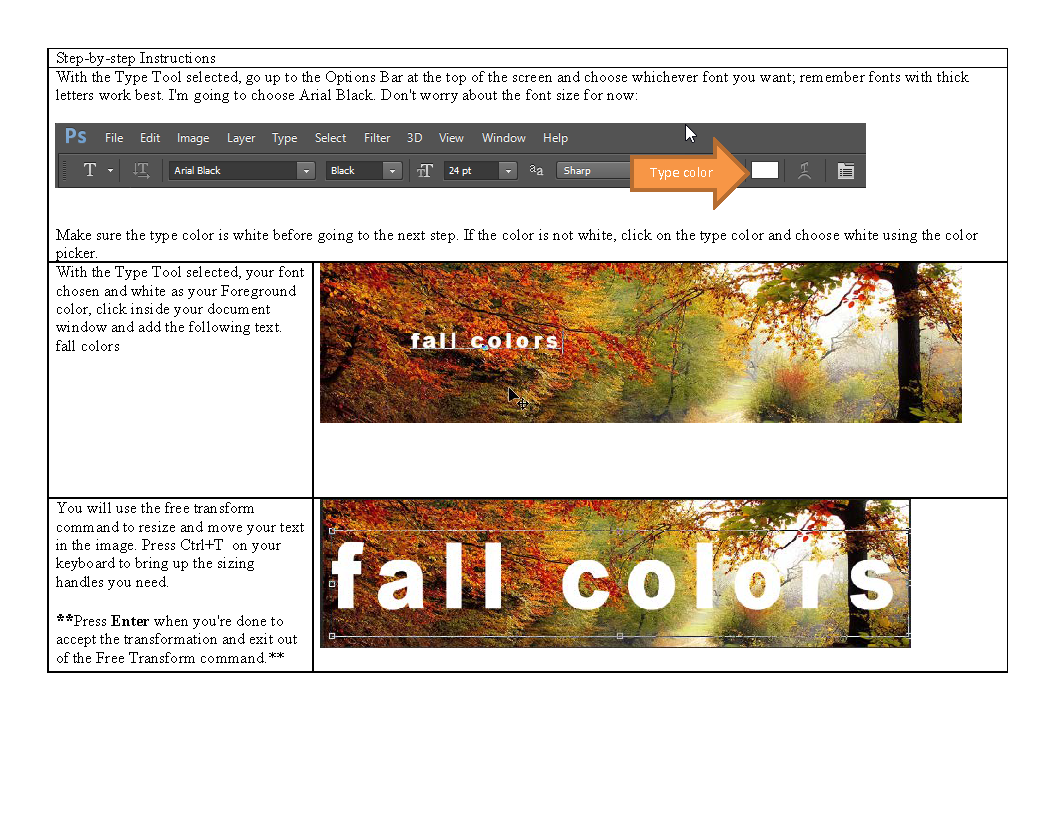
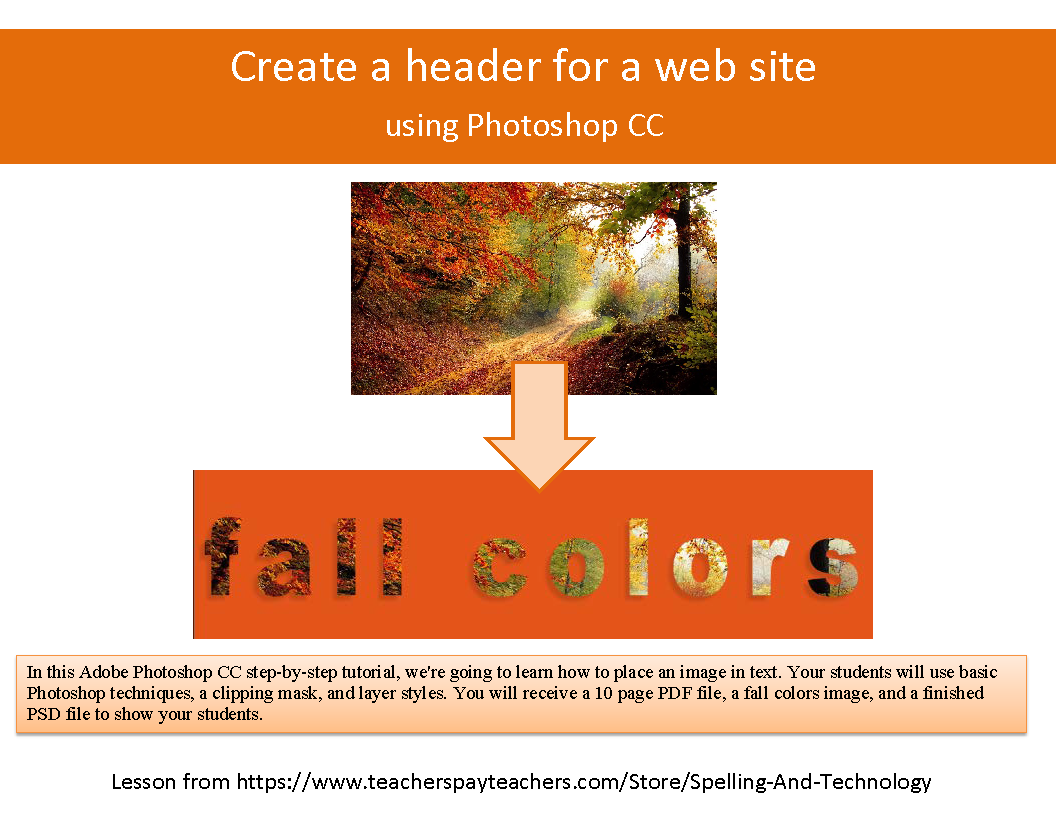
In this lesson your students will practice creating a web site header image with a clipping mask using Photoshop CC 2015, you get a 10 page PDF file with step-by-step instructions, the fall image and a completed PSD file to show your students.
View full demo:
All our lessons for high school students: *Are ready to use onscreen or printed *Are reasonably priced *Contain text instructions with many step-by-step screen shots *Emphasize skills needed for the technology workplace
Contact me if you have suggestions or questions about my products: migbos12@yahoo.com.
These lessons are all high-school/adult learner tested. I have used these lessons with hundreds of students, some with thousands of students. Many of the online tutorials are meant for intermediate or more advanced users and will skip steps. I have added steps and images to make the lesson easier to follow, these are not 1 page text lessons, they include screenshots of each step. If you let me know of a step you would like added I will add it in and send you the updated file. I try to create these so my students have the least amount of questions possible.
Create realistic tears on a picture using Photoshop CC – graphic design lesson
In this Photoshop CC photo effects tutorial, we’re going to learn how to easily add a realistic tear to any photo. It’s a very easy effect to create and you can add it to any photo you like.
This tutorial works with Photoshop CC!
The download of this file includes a 12 page PDF file and an image to follow the lesson along step-by-step. The lesson should not take more than 90 minutes to complete. After practicing step-by-step with the class then I have them choose an image of their own so they complete the challenge. You students’ will then practice a second time following the instructions individually.
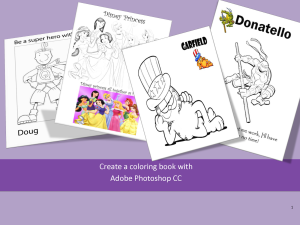
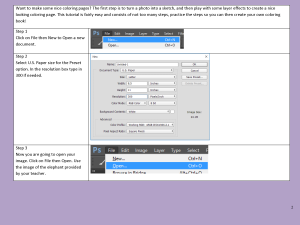
This is a ten (10) page handout with step by step directions needed to convert an image into a coloring page as well as the elephant image used in the CC lesson; there is a cover page, then seven pages include instructions and the last page shows examples of what is possible with Adobe Photoshop and some images from Google.
The file is in Adobe PDF. My students really enjoy this project and they learn how to desaturate, invert, and move images as well as add text.
Lesson 12: Create a comic book effect – A Photoshop CC step-by-step lesson.
This fun and easy to follow tutorial will teach you how to turn any photograph into a comic book style image. You will use filters and blending modes as well as talk bubbles and text. You get the bird image and a PDF with 22 pages of instructions and brain challenge activities so your students practice individually.
You will download a zip file with the following items:
*A 22 page step-by-step guide to achieving the comic book effect and 2 challenge activities for your early finishers that can extend the skills learned in the lesson.
*A completed PSD file so you can view the layers and layer styles used in the lesson of the completed file
*Of course, the bird image to create the sample file